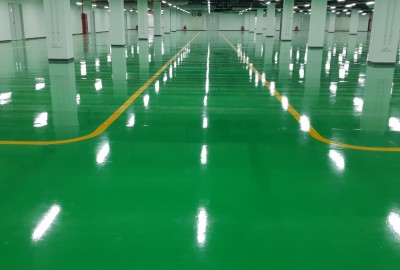
Application of antistatic paint KERACOTE ESP300 difficult or easy?
KERACOTE ESP300 is product with excellent antistatic ability in electrical resistance from 10^4 – 10^6 Ω and electrostatic dispersion at a resistance from 10^6 – 10^9Ω, meeting the antistatic standard. They are used an optimal protection solution for concrete floors in electronic components manufacturers. But in fact, not everyone can understand about application process of this product. So is it difficult when apply KERACOTE ESO300? How does the application process? Let find out with APT in this article below!
Application of antistatic paint KERACOTE ESP300 difficult or easy?
KERACOTE ESP300 is paint produced by fiber technology. So, when open the lids, we often see tiny fiber inside. This thing makes investors, factories worry about electrical charge fibers floating on the surface after application. But in fact, if the constructor understands construction process, the construction is still easy to do. The floor surface is smooth, hard and ensures allowable resistance.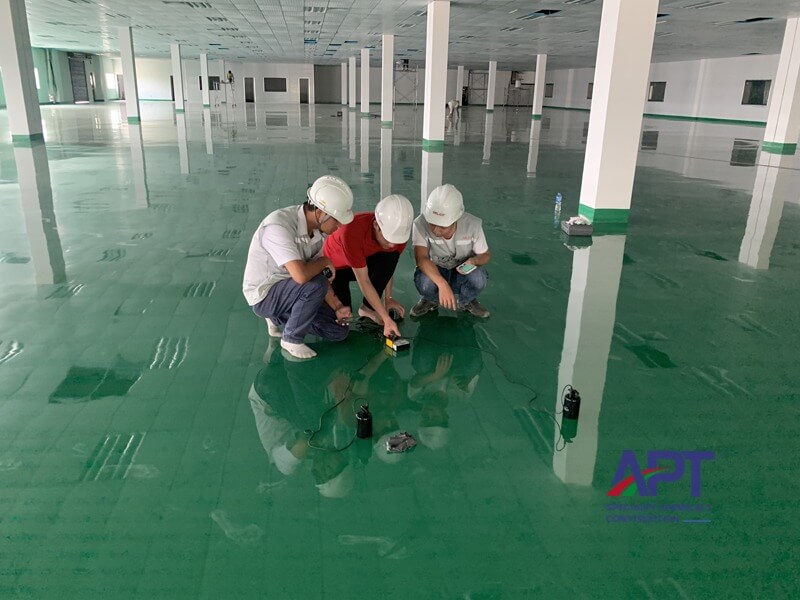
How does the application process of KERACOTE ESP300?
The application process of KERACOTE ESP300 includes 6 steps. And there are notes that the constructor needs to know during in each application step.
Step 1: Surface treatment of KERACOTE ESP300
The surface treatment is the first step to help remove weak adhesion, impurities on the floor surface. Although it is difficult to do but this step still requires care. The constructor needs to use floor grinder to create roughness and remove weak adhesion for floor surface. Then use a vacuum cleaner to completely clean dust before application.
Step 2: Applying the primer
KERASEAL PS60 is an important step in osmosis and surface reinforcement to help connect the coating with concrete floor. So, the constructor needs to coat at all positions on the floor, ensure the next coating has the best adhesion. Allow to dry at least 7 hours before light traffic or apply the next steps.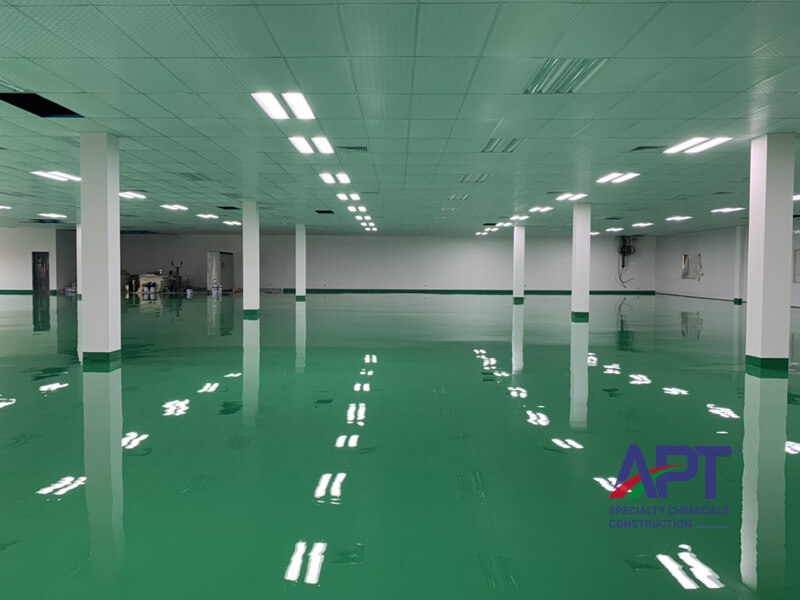
Step 3: Applying PRIMERSEAL PS20
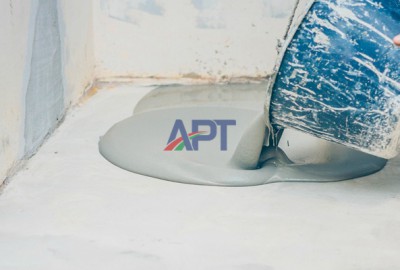
Primerseal PS20 is a product used as an insulating primer for antistatic control systems and conductive primer. With this coating, need to use serrated trowel to spread the material with required thickness. In addition, because of self-leveling surface, should use spiked roller to break the air bubbles. Allow to dry at least 5 hours before apply the next steps.
Step 4: Sticking the copper tape
The copper tape system is spread on the insulating primer surface and the earth ground point follows the approved design under the next antistatic coatings. The contact point should be connected with direct earth grounding system by the designed independent earth grounding system. Note when applying, copper tape is stick in square or checkered shape. Distance between tapes should < or equal to 15cm.
Step 5: Applying KERASEAL PSD
Using paint brush, short hair roller or airless spray to ensure covers all surfaces. Usually 1 coat is enough. However, places where have many holes or many honeycomb holes, during application, the constructor can apply the second coating. In order to apply smoothly, temperature must be kept above 20°C and maintain ventilator. The minimum time to apply the next coating is 12 hours.
Step 6: Applying KERACOTE ESP300
Using serrated trowel spread mixed paint mixture on constructed surface. Then, the constructor uses spiked roller to break air bubbles. Allow to dry at least 24 hours before light traffic and 72 hours before using.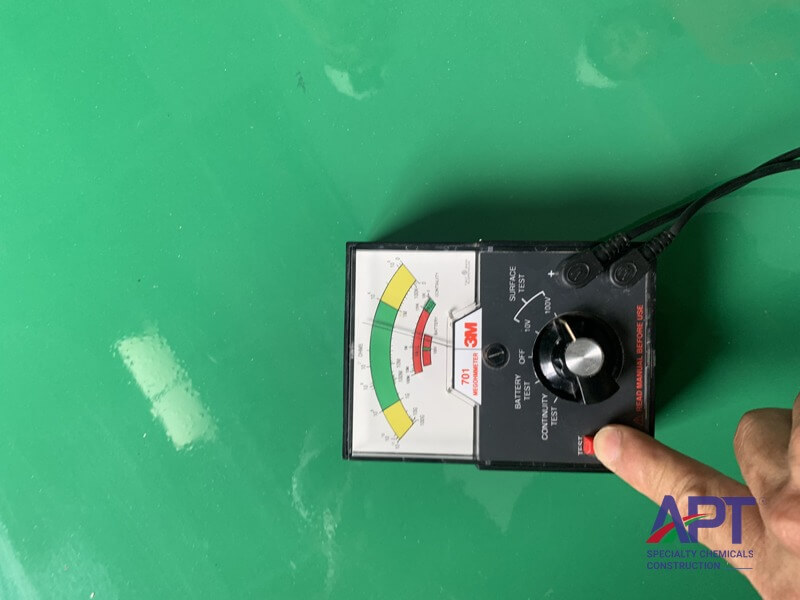
Why should buy genuine KERACOTE ESP300 from APT Vietnam?
APT Vietnam is official manufacturer of antistatic paint KERACOTE ESP300. So when contact with APT, investors, factories are totally comfortable about the price as well as quality of product. Especially, APT will support application instruction on-site if customers do not know the application process to ensure the best quality. Enthusiastic consulting team with 3 – 5 years of experiences, help factory to choose good product that is suitable with the budget.
To consulted and received free sample, investors, factories please contact 0904 339 299!


